This is my least favorite step of any project I have ever done. I like to build, I find the finishing stage to be boring and tedious but this is where the magic has to happen!

Some of my gaps were less than perfect fitting so I chose to fill them in roughly with a layer of fiberglass-reinforced body filler. This stuff is thick and difficult compared to regular body filler but it worked well for this application.

With some patience I filled in around the door frames as well while maintaining the small gap where caulking is meant to go.

After a sanding pass with 80 grit to clean up the fiber-reinforced layer, I switched to more standard ‘pink’ body filler. I ended up making multiple passes; body filler, sand, repeat until I got everything smoothed out. Many hours later I was finally at a point where I was happy with the result.
After I felt good about the body work, I went around and sealed up all the seams with paint-able exterior caulk (black).
There are plenty of ways to finish a project like this. Roll-on bed liner is a common choice and would be an excellent option. For my particular situation, I chose to just go with high quality primer and exterior paint. This may not be suitable for everyone, but I have done projects before with paint and it has held up very well. I live in a very dry climate (Utah) and have a place to store this indoors when not in use. If I ever need a re-coat or a patch it will be easy to do, and I can choose from nearly unlimited colors. This was not a cost decision but the bed liner system would have been a bit more expensive as well. Also for me it is very helpful to be able to get out paint and work for an hour when I have the time, something you can’t do with the bed liner products since once they are opened they start curing.

One thing I do like about the bed liner products however is the finished texture. After primer, I applied 2 coats of my final color with a FoamPro 58 texture roller. These rollers have an open foam-like structure so it ‘pulls’ the paint as you roll and creates that bed liner texture. It doesn’t work quite as well with paint that is designed to minimize brush and roller marks but I am happy with the result. I would recommend some test panels if you want to try this to make sure you see how the paint goes on and what techniques will give the result you want.
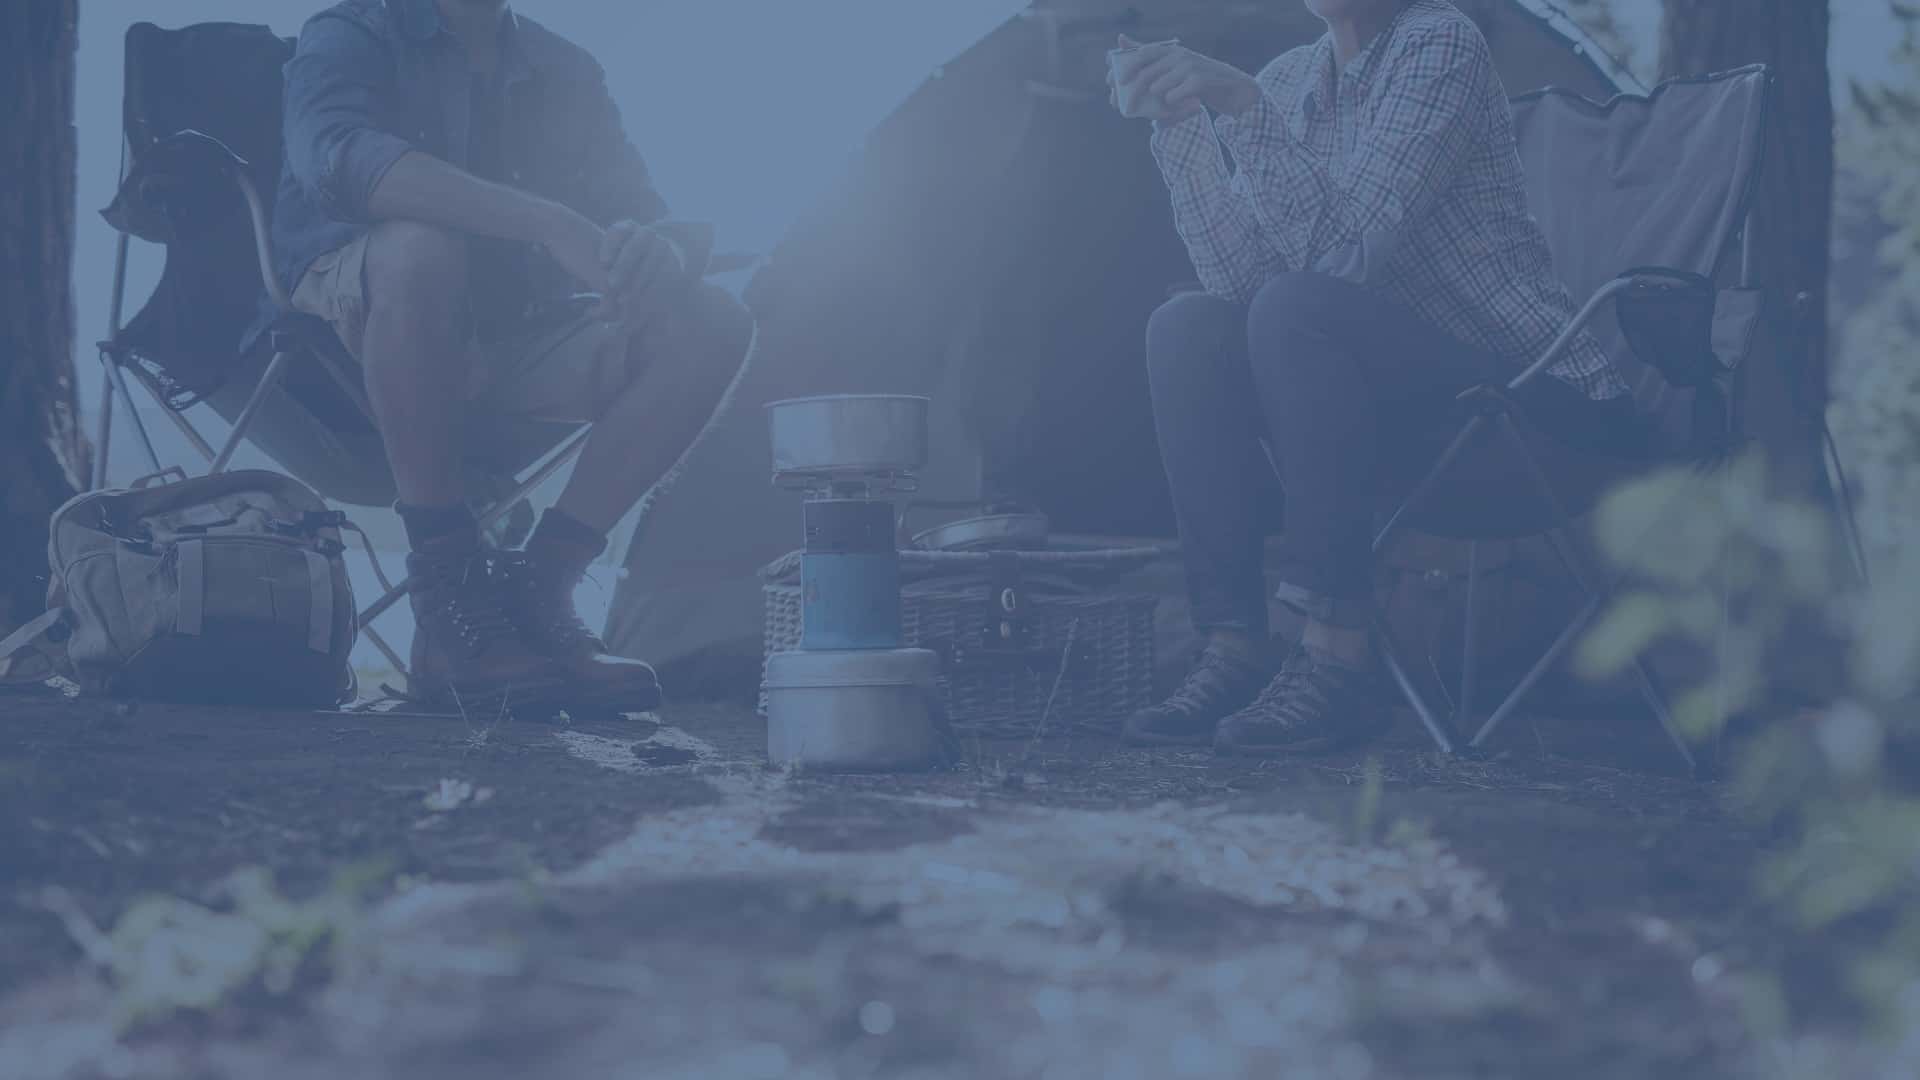
Below are shots of the finished product, rigged up and out in the wild. As this trailer gets put through it’s paces photos will be added here!


